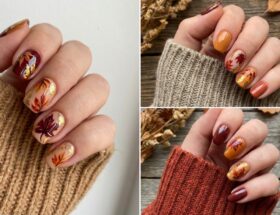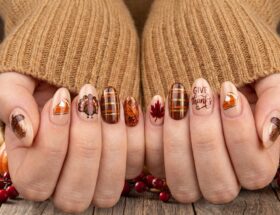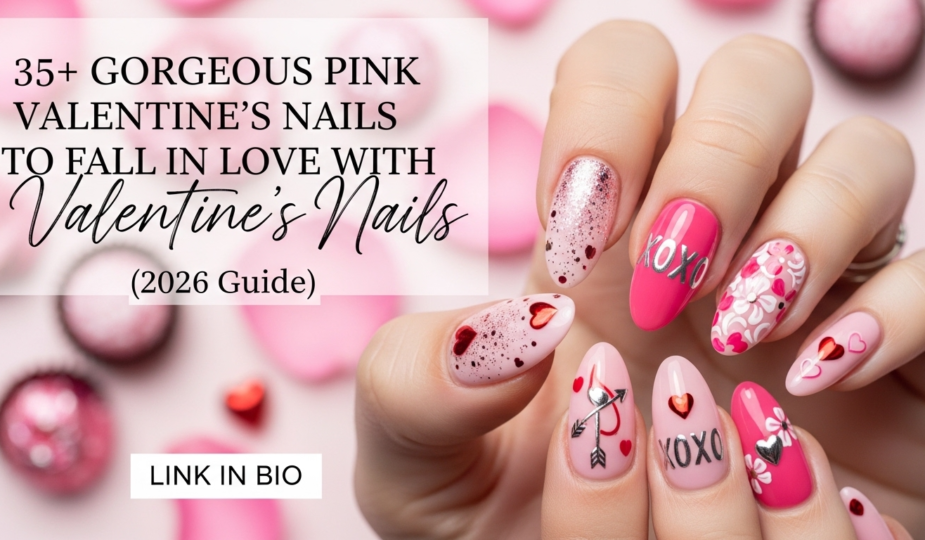
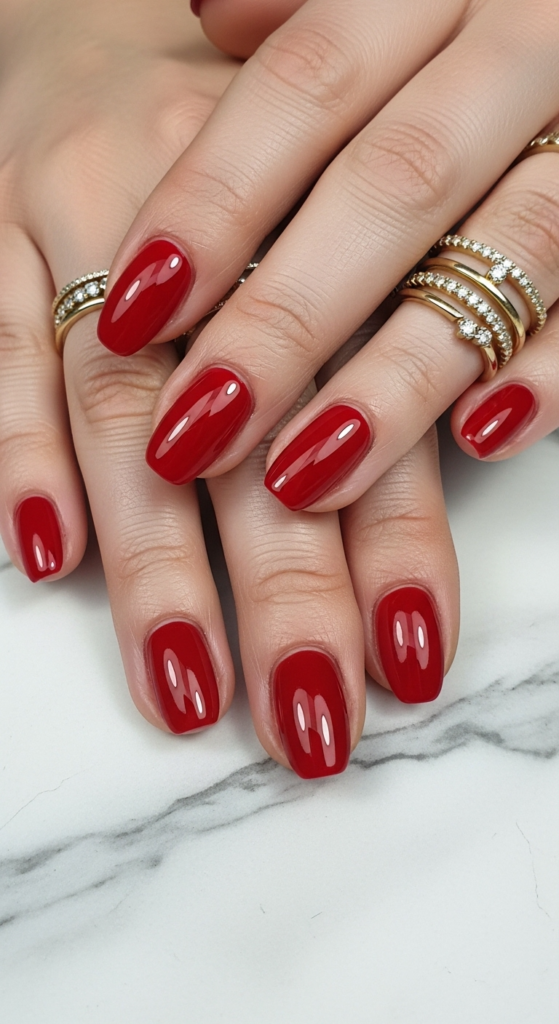
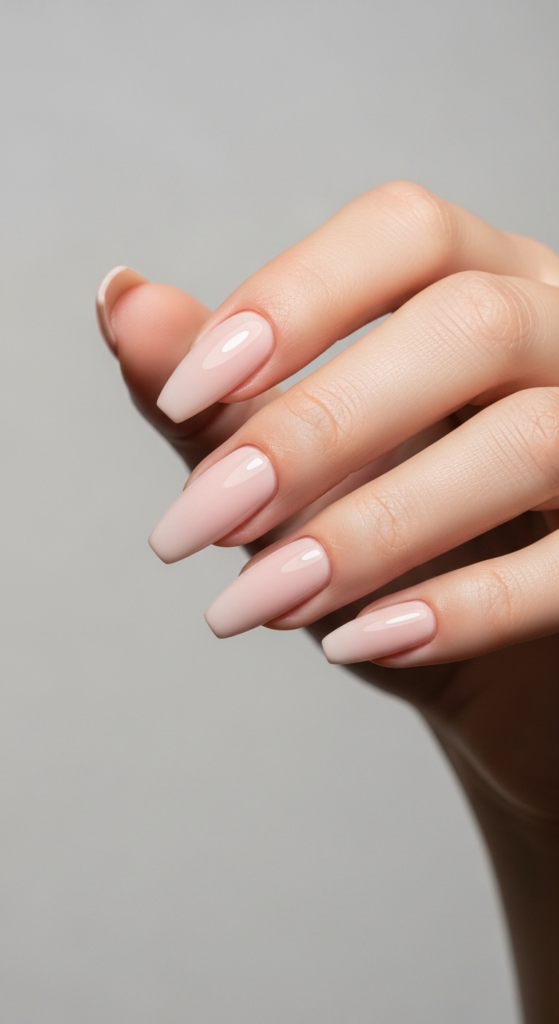
Valentine’s Day is just around the corner, and there’s no better way to celebrate love than with stunning pink Valentine’s nails that make your heart skip a beat! Whether you’re planning a romantic dinner date, a Galentine’s Day brunch with your besties, or just want to treat yourself to some self-love, pink nails are the ultimate Valentine’s Day accessory.
This comprehensive guide is perfect for DIY nail enthusiasts, beginners who want to try Valentine’s nail art at home, and anyone looking for fresh pink nail inspiration for February 2026. You’ll learn everything from classic pink manicure techniques to trendy heart designs, ombre effects, and glittery finishes that’ll have everyone asking where you got your nails done.
By the end of this article, you’ll have all the tools, techniques, and inspiration you need to create salon-worthy pink Valentine’s nails right in your own home. Let’s dive into the world of romantic nail art!
Why This Nail Trend is So Popular
Pink Valentine’s nails have been a February staple for decades, but they’ve evolved far beyond the basic red heart on a pink base. The trend has exploded on Pinterest and Instagram, with the hashtag #ValentinesNails garnering over 2 million posts and pink nail designs dominating beauty feeds throughout January and February.
The resurgence of Y2K fashion has brought back nostalgic pink aesthetics, Barbiecore vibes, and ultra-feminine nail art. Celebrities like Hailey Bieber, Selena Gomez, and Zendaya have been spotted rocking various shades of pink manicures, from soft ballet pink to hot magenta, making this color palette more popular than ever.
TikTok nail artists have also contributed to the trend, with viral videos showing creative heart designs, 3D embellishments, and chrome finishes that transform simple pink nails into works of art. The best part? Most of these designs are surprisingly achievable at home with the right tools and a little patience.
Why You’ll Love Pink Valentine’s Nails
Pink Valentine’s nails are the perfect blend of romance, fun, and sophistication. They’re universally flattering and work with any skin tone, outfit, or Valentine’s Day plan you have in mind.
Here’s why you’ll absolutely love this nail trend:
- Easy to customize: From subtle blush pink to bold fuchsia, you can adjust the intensity to match your personal style
- Beginner-friendly: Simple pink manicures with heart accents are perfect for nail art newbies
- Budget-friendly: Create stunning looks with drugstore polishes and basic tools—no expensive salon visit required
- Versatile for any occasion: Dress them up for date night or keep them subtle for work
- Long-lasting results: With proper application and top coat, these designs can last 7-14 days
- Instagram-worthy: Pink Valentine’s nails photograph beautifully and are guaranteed to get likes
- Mood-boosting: There’s something about pretty pink nails that instantly makes you feel more confident and feminine
- Seasonal but timeless: While perfect for Valentine’s Day, pink nails work year-round
What You’ll Need (Tools & Products)
Before we start creating your dream pink Valentine’s nails, let’s gather all the supplies. Don’t worry—you probably already have most of these items in your nail kit!
Base Products:
- Base coat (I love Orly Bonder Rubberized Base Coat for long-lasting wear)
- Pink nail polish in your chosen shade(s): light pink, hot pink, rose pink, or dusty mauve
- Red or burgundy polish for heart accents
- White polish for details and French tips
- Top coat (Seche Vite Dry Fast Top Coat is my go-to)
Nail Tools:
- Nail file (180-grit for shaping)
- Buffer block for smoothing nail surface
- Cuticle pusher and cuticle nippers
- Dotting tools in various sizes (or use a bobby pin as a substitute)
- Striping brush or thin nail art brush
- Tweezers for placing embellishments
Nail Prep Items:
- Cuticle oil (jojoba oil works great)
- Nail polish remover and lint-free wipes
- Rubbing alcohol for dehydrating nails
- Cotton pads and aluminum foil (for polish removal)
Optional Embellishments:
- Nail rhinestones in pink, red, or clear
- Heart-shaped nail stickers or decals
- Nail glitter (fine or chunky)
- Nail stamping plates with Valentine’s designs
- Pink or red nail foil
- 3D heart nail charms
For Gel Polish:
- UV or LED nail lamp
- Gel base coat, color, and top coat
- Gel cleanser and lint-free wipes
Pro Tip: If you’re new to nail art, start with regular polish before investing in gel products. Regular polish is more forgiving and easier to correct if you make mistakes!
Step-by-Step Tutorial: Classic Pink Valentine’s Nails with Hearts

Let me walk you through creating a timeless pink Valentine’s manicure that looks professional but is totally doable at home. This design features a soft pink base with accent heart details—perfect for beginners!
Step 1: Prep Your Nails (10 minutes) Start with clean, dry nails. Remove any old polish completely. Push back your cuticles gently with a cuticle pusher, and carefully trim any excess skin with cuticle nippers. File your nails to your desired shape—I recommend a rounded square or almond shape for Valentine’s nails as they’re super feminine. Buff the nail surface lightly to remove any ridges and create a smooth canvas. Wipe nails with rubbing alcohol to remove oils and ensure better polish adhesion.
Step 2: Apply Base Coat (2 minutes) Apply one thin layer of base coat to all nails, making sure to cap the free edge (swipe across the tip of your nail). This protects your natural nails and prevents staining. Let it dry for 2-3 minutes until completely dry to the touch.
Step 3: First Color Coat (5 minutes) Apply your chosen pink polish in thin, even strokes. Start with a stripe down the center of the nail, then fill in the sides. Use three strokes maximum per nail—one down the middle and one on each side. Thin coats are key to preventing bubbles and ensuring faster drying. Let this coat dry for 3-5 minutes.
Step 4: Second Color Coat (5 minutes) Apply a second thin coat of pink polish using the same technique. This ensures full opacity and rich color. Don’t forget to cap the free edge again. Allow 5-7 minutes drying time before moving to nail art.
Step 5: Create Heart Designs (15 minutes) Now for the fun part! Here are three easy methods:
Method 1 – Dotting Tool Hearts: Dip your dotting tool in red or white polish and create two dots side by side on your accent nail (typically the ring finger). Use a toothpick or thin brush to drag the bottom of the dots down to form a heart point. Practice on paper first!
Method 2 – Drawn Hearts: Using a thin striping brush, carefully draw heart outlines on one or two accent nails. You can fill them in or leave them as outlines for a more delicate look.
Method 3 – Nail Stickers: For beginners, heart nail stickers are foolproof! Simply apply them to dry nails, press firmly, and seal with top coat.
Step 6: Add Optional Embellishments (5 minutes) If you want extra sparkle, add a small rhinestone to the center of each heart using tweezers and a tiny dot of top coat as glue. You can also add a thin line of glitter polish along the cuticle or tip for a festive touch.
Step 7: Seal with Top Coat (3 minutes) Once your nail art is completely dry (wait at least 10 minutes), apply a generous layer of quick-dry top coat to all nails. Make sure to cap the free edge to seal everything in and prevent chipping. This step makes your manicure look glossy and professional while extending wear time.
Step 8: Clean Up & Moisturize (5 minutes) Dip a small brush in nail polish remover and clean up any polish that got on your skin. Apply cuticle oil to all your cuticles and massage it in gently. This keeps your cuticles healthy and makes your manicure look extra polished.
Total Time: About 50 minutes (including drying time)
Beginner Tip: If you’re new to nail art, practice drawing hearts on a paper plate or practice wheel before working on your nails. This builds your confidence and helps you perfect your technique!
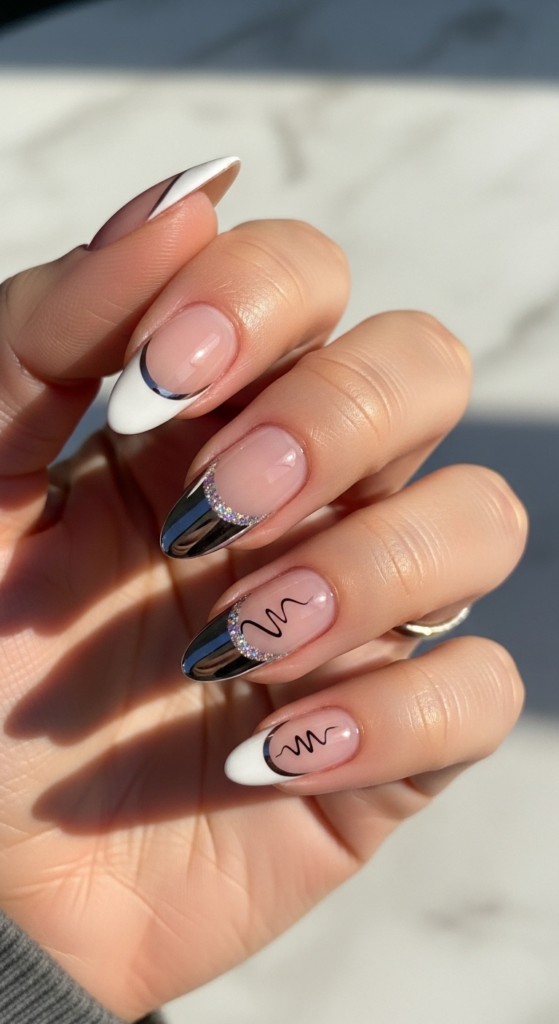
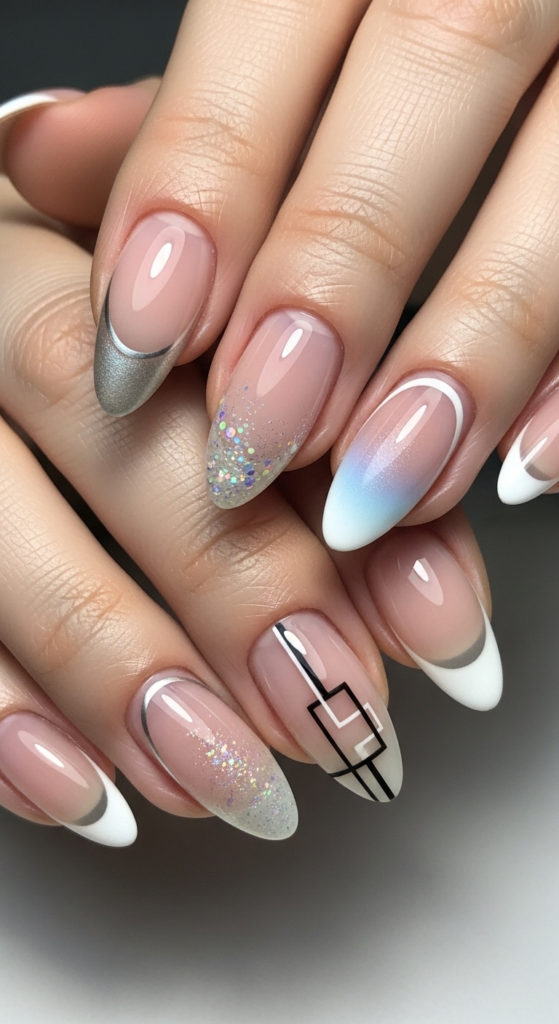
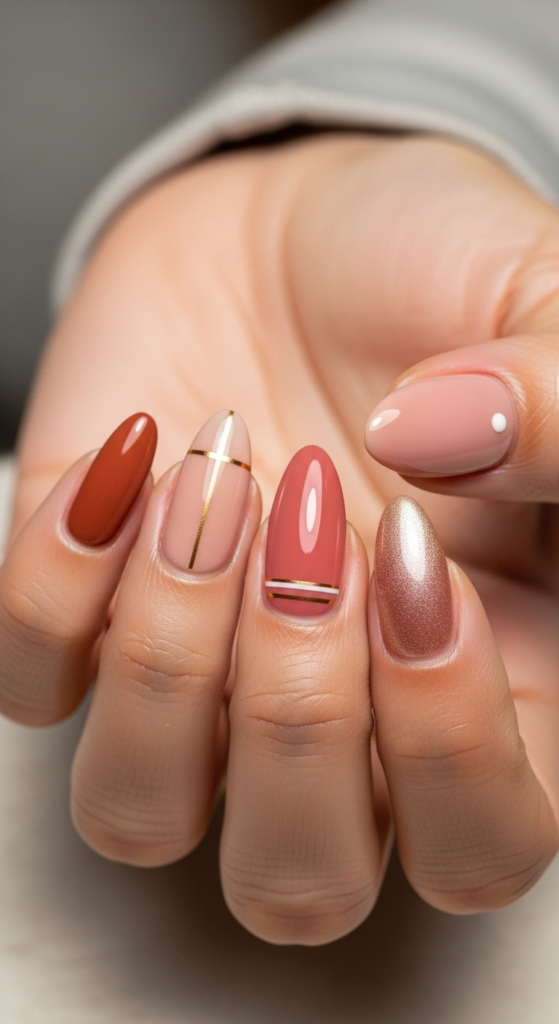
Design Variations & Ideas
The beauty of pink Valentine’s nails is that there are endless ways to customize them. Here are five stunning variations to inspire your next manicure:
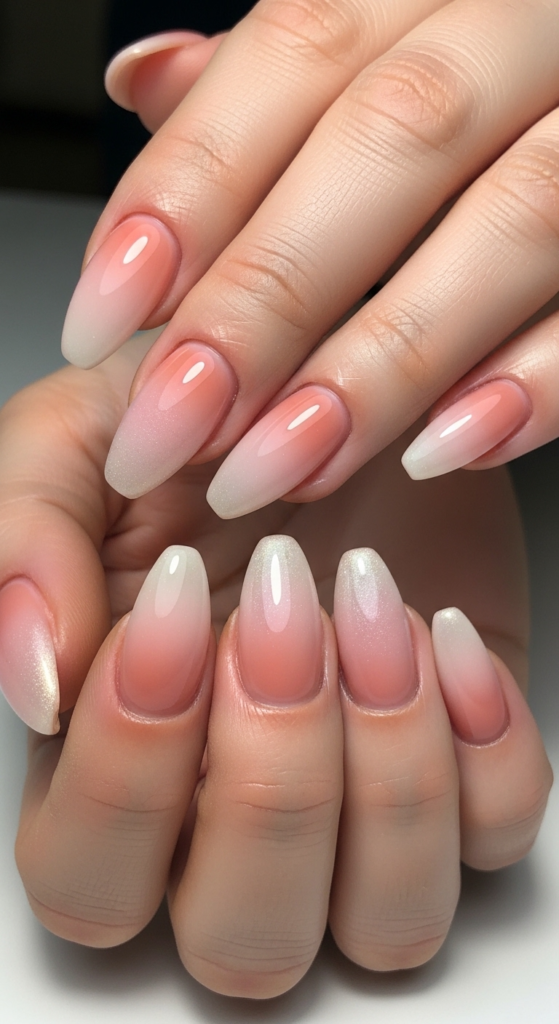
1. Ombre Pink Gradient Create a romantic gradient effect by blending light pink at the base into hot pink at the tips. Use a makeup sponge to dab on the colors and blend them together. Add tiny gold hearts near the cuticle for a luxe finish. Difficulty: Intermediate
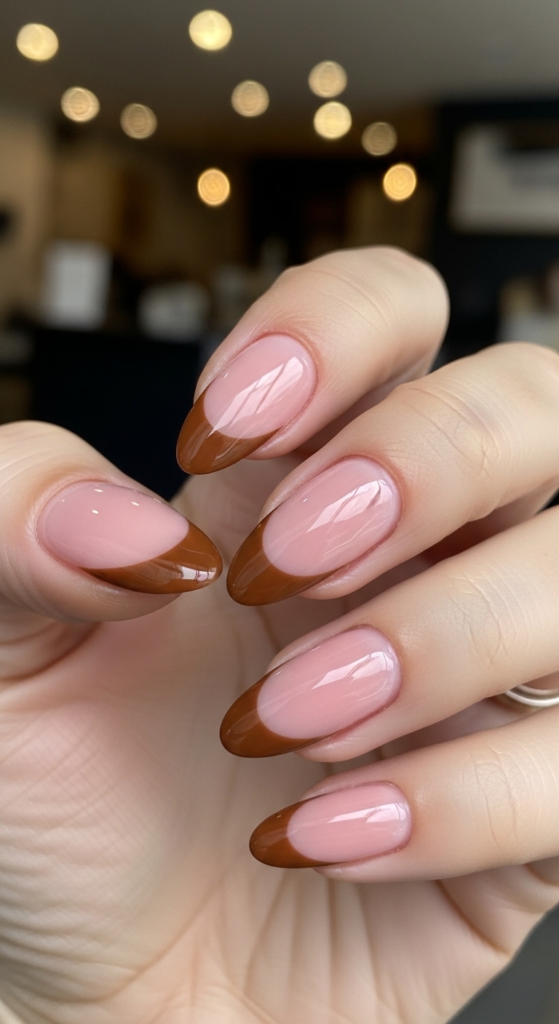
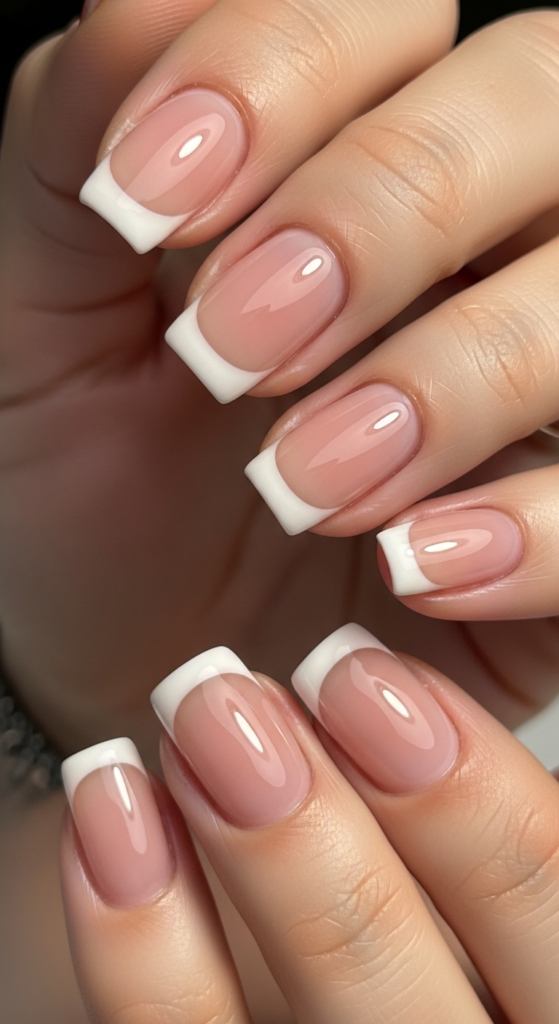
2. Pink French Tips with Heart Accents Give the classic French manicure a Valentine’s twist! Use a soft pink base with bright pink or red tips, then add a small heart detail at the base of each nail. This look is office-friendly yet festive. Difficulty: Easy
3. Pink Chrome Valentine’s Nails Apply a metallic pink chrome powder over a pink gel base for a futuristic, mirror-like finish. Add 3D heart charms on accent nails for dimension. This look is trending hard on TikTok! Difficulty: Advanced
4. Minimalist Pink with Single Heart For a subtle approach, paint all nails in a dusty rose pink and add just one small red heart on your ring finger. Less is more with this elegant design that works for any setting. Difficulty: Easy
5. Pink Glitter Ombre with Heart Confetti Start with a pale pink base and create a glitter gradient toward the tips using pink and red glitter polish. Add heart-shaped glitter confetti pieces randomly for a playful, party-ready look. Difficulty: Intermediate
Pro Nail Tech Tips
Want your pink Valentine’s nails to look like they came from a high-end salon? Here are insider secrets from professional nail technicians:
For Longer Lasting Wear: Always dehydrate your nails with rubbing alcohol before applying base coat—this removes oils that cause lifting. When applying polish, make sure to cap the free edge with every single coat (base, color, and top coat). This seals the tip and prevents chipping from daily activities like typing and opening cans.
For Crisp, Clean Lines: When creating heart outlines or French tips, use a striping brush with very little polish on it. Too much polish causes bleeding and wobbly lines. Load your brush, then wipe most of it off on the bottle rim. Also, work with a steady hand by resting your working hand on a table and bracing your pinky finger against your other hand for stability.
For Perfect Heart Shapes: The secret to symmetrical hearts is creating equal-sized dots. Practice your dotting pressure on paper until you can make consistent circles. When forming the point, use a light touch and drag straight down—don’t curve or you’ll end up with a lopsided heart.
For Smooth Polish Application: Let each coat dry completely before applying the next. Rushing leads to smudges, dents, and bubbles. If you’re impatient like me, invest in a quick-dry top coat and use a fan to speed up drying between coats.
For Long-Wearing Nail Art: Always sandwich your nail art between color and top coat. Never put nail art directly on your natural nail—it won’t last. Apply your base color, let it dry completely, add your hearts or embellishments, then seal everything with a thick layer of top coat.
For Preventing Bubbles: Avoid shaking your nail polish bottle, which creates air bubbles. Instead, roll it between your palms to mix. Also, apply thin coats—thick coats trap air and create that unwanted bubbly texture.
Common Mistakes to Avoid
Even experienced nail enthusiasts make these errors! Here’s what to watch out for when creating pink Valentine’s nails:
1. Skipping the Base Coat This is the biggest mistake beginners make! Without a base coat, pigmented polishes (especially reds and hot pinks) can stain your natural nails yellow. Base coat also helps polish adhere better and last longer. Always use it—no exceptions!
2. Applying Polish Too Thick Thick coats take forever to dry, are more likely to smudge, and often bubble or dent. They also chip faster because they don’t cure properly. The solution? Two to three thin coats are always better than one thick coat. Be patient and build up color gradually.
3. Not Capping the Free Edge If you skip swiping polish across the tip of your nail, your manicure will chip within 24-48 hours. Make it a habit to cap the free edge with every single layer—base coat, each color coat, and top coat. This simple step can double your manicure’s lifespan.
4. Starting Nail Art Too Soon Adding hearts or rhinestones to polish that isn’t fully dry will drag the base color and ruin your manicure. Wait at least 10 minutes after your last color coat before attempting nail art. Do the touch test—gently tap nails together. If they stick at all, wait longer.
5. Overloading Embellishments More isn’t always better with Valentine’s nail art! Too many hearts, rhinestones, or glitter can look cluttered and tacky. Choose one or two accent nails for detailed designs and keep the rest simple. This creates visual interest without overwhelming the eye.
How Long Will It Last?
The longevity of your pink Valentine’s nails depends on the type of polish you use and how well you care for them.
Regular Polish: With proper application and top coat, expect 5-7 days of wear. Your manicure may show minor tip wear after 4-5 days, but it should still look presentable for a full week.
Gel Polish: Gel manicures typically last 10-14 days without chipping. Some people can stretch it to 3 weeks, though you’ll have noticeable growth at that point. Gel is ideal if you’re doing Valentine’s nails early in February and want them to last through the holiday.
Tips to Make Your Manicure Last Longer:
- Reapply top coat every 2-3 days to refresh shine and seal any minor wear
- Wear gloves when washing dishes, cleaning, or doing tasks that expose nails to water and chemicals
- Apply cuticle oil daily to keep nails flexible and prevent brittleness that leads to chips
- Avoid using your nails as tools (opening soda cans, peeling off stickers, etc.)
- Keep nails at a practical length—super long nails are more prone to breaking and chipping
Touch-Up Tips: If you get a small chip on one nail, you don’t have to redo everything! Simply file the chip smooth, apply a thin layer of your pink polish just to that nail, let it dry, and seal with top coat. For heart designs, you can carefully add a fresh heart over the damaged area.
Removal & Aftercare
When it’s time to say goodbye to your pink Valentine’s nails, proper removal is crucial for maintaining healthy nails underneath.
For Regular Polish: Soak a cotton pad in acetone-based nail polish remover, press it onto your nail, and hold for 10-15 seconds. This allows the remover to break down the polish. Then wipe firmly from cuticle to tip. For glitter polish, you may need to use the foil wrap method: wrap each finger in aluminum foil with a remover-soaked cotton pad for 5 minutes, then wipe clean.
For Gel Polish: File the shiny top coat layer to break the seal. Soak cotton pads in pure acetone (not regular remover), place on each nail, and wrap with aluminum foil. Wait 10-15 minutes, then gently push off the softened gel with an orange stick. Never peel or force gel off—this damages your natural nails.
Post-Removal Nail Care: After removing polish, your nails need some TLC. Wash your hands with gentle soap, then apply a rich hand cream or cuticle oil. I love using Sally Hansen Vitamin E Nail & Cuticle Oil or just plain jojoba oil from the health food store.
Give your nails a 1-2 day “naked” break between manicures to let them breathe, especially if you’ve been wearing polish consistently. During this time, buff nails gently to smooth the surface and apply a strengthening treatment like OPI Nail Envy or Nailtiques Formula 2.
Recommended Nail Recovery Products:
- Burt’s Bees Lemon Butter Cuticle Cream for intense moisture
- CND RescueRXx Daily Keratin Treatment for strengthening
- Essie Treat Love & Color for a breathable polish alternative
- Pure argan oil or vitamin E oil for deep nourishment
Best Occasions to Wear This Design
Pink Valentine’s nails are surprisingly versatile! Here’s when and where to rock this romantic look:
Valentine’s Day Date Night: Obviously! Whether you’re going to a fancy restaurant, catching a movie, or having a cozy night in, pink Valentine’s nails set the perfect romantic mood. Pair with a little black dress or red outfit for maximum impact.
Galentine’s Day Celebrations: Celebrating friendship with your girls? Pink nails with heart accents are the ultimate Galentine’s Day accessory. They photograph beautifully for group selfies and show you put effort into the celebration.
Wedding Guest or Bridal Party: Soft pink Valentine’s nails work beautifully for February weddings. Choose a subtle design with minimal embellishments for a sophisticated look that complements any dress.
Everyday Wear: Don’t save pretty nails just for special occasions! A simple pink manicure with one accent heart nail is office-appropriate and adds a touch of fun to your workweek. Choose dusty rose or mauve tones for a more professional vibe.
Girls’ Night Out: Going out with friends? Hot pink nails with glitter or rhinestones show you’re ready to have fun. They also look amazing in nightclub lighting and party photos.
Self-Care Sundays: Sometimes the best occasion is just treating yourself! Pink Valentine’s nails are a form of self-love that reminds you to prioritize your wellbeing all month long.
Office-Friendly Options: Stick with light to medium pink shades, minimal nail art (one small heart per hand), and classic shapes like round or oval. Avoid excessive glitter, 3D charms, or extra-long nails in professional settings.
Product Recommendations
Ready to shop? Here are my tried-and-true product recommendations for creating gorgeous pink Valentine’s nails:
Best Pink Nail Polishes:
- Essie “Ballet Slippers” – The iconic pale pink that’s been a classic since 1981. Perfect for a subtle, elegant Valentine’s look. Available at drugstores, Ulta, and Amazon for around $9.
- OPI “Pink-ing of You” – A bright, cheerful pink that’s buildable from sheer to opaque. Great for both base color and heart details. Find it at Ulta or Sally Beauty for $11.
- Sally Hansen Miracle Gel “Pink Cadillacquer” – A long-wearing hot pink that doesn’t require UV light. Lasts up to 8 days with the Miracle Gel Top Coat. Available at drugstores and Target for $8.
- Cirque Colors “Amore Mio” – A dusty rose pink with subtle shimmer that’s Instagram-perfect. This indie brand polish is $13 on their website and is 5-free (no harsh chemicals).
- Olive & June “CF” – A medium pink cream that applies like butter and dries fast. Comes with their wide brush for easy application. Available on their website for $8.
Best Top Coats:
- Seche Vite Dry Fast Top Coat – Dries to a hard, glossy finish in minutes. A nail artist staple for good reason. $10 at Sally Beauty or Amazon.
- Essie Gel Couture Top Coat – Provides gel-like shine without a UV lamp. Great for extending wear time. $12 at drugstores.
Affordable Alternatives:
- Wet n Wild Wild Shine Nail Color – Budget-friendly pink shades for under $2 at drugstores. Perfect for practicing or experimenting.
- LA Colors Color Craze – Decent quality polish for $1-2 that comes in multiple pink shades. Great starter option.
Where to Buy: Shop these products at Ulta Beauty, Sally Beauty Supply, Target, CVS, Walgreens, or Amazon. Many brands also sell directly through their websites. Sign up for store emails to catch sales—Ulta frequently has “buy 2, get 1 free” deals on nail polish!
Inspiration Gallery Ideas
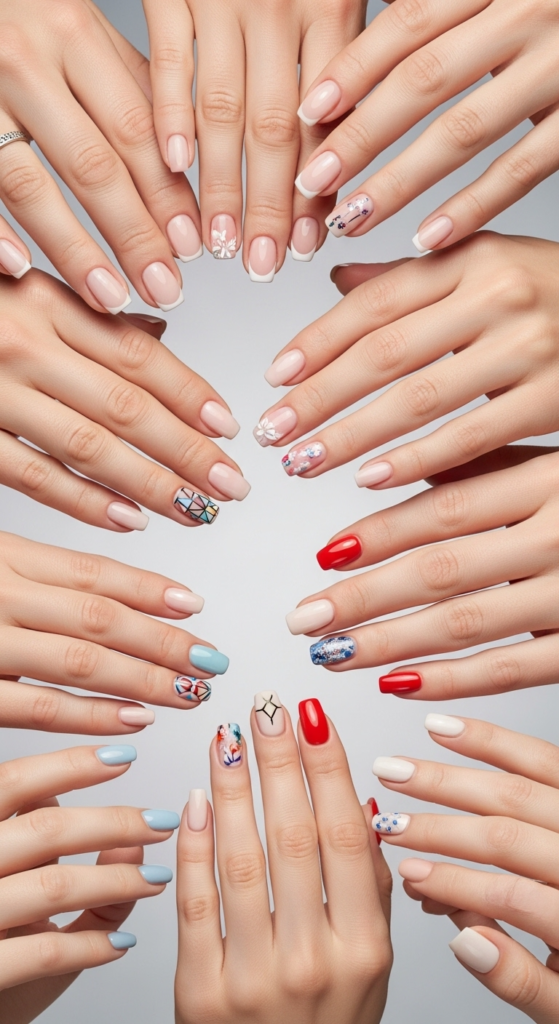
Need more Valentine’s nail inspiration? Here are seven gorgeous designs to try, ranging from simple to show-stopping:
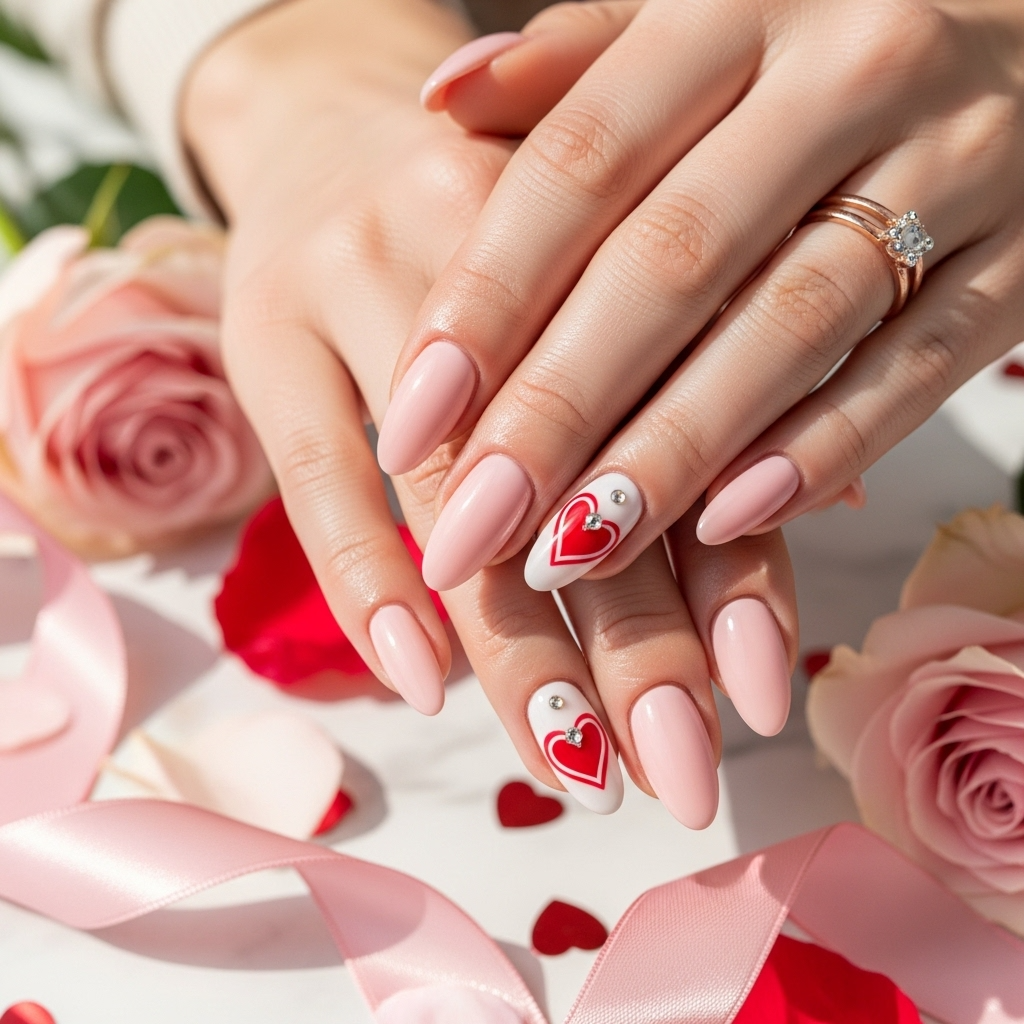
1. Blush Pink with Red Heart French Tips Apply a barely-there blush pink base, then create French tips using red polish. Add a small white heart on each tip. This design is romantic, classic, and sophisticated. Color Palette: Soft pink, classic red, pure white. Difficulty: Easy
2. Hot Pink Color Block Hearts Paint alternating nails in hot pink and white, then add geometric heart cutouts on the white nails using hot pink. Modern and graphic! Color Palette: Magenta, white. Difficulty: Intermediate
3. Rose Gold Pink with Foil Hearts Use a rose pink metallic polish as your base, then apply rose gold foil in heart shapes on accent nails. Ultra-glamorous for special occasions. Color Palette: Rose pink, rose gold. Difficulty: Intermediate
4. Baby Pink with Rainbow Hearts Keep it fun and playful with a pale pink base and multicolored tiny hearts scattered across each nail. Perfect for Galentine’s Day! Color Palette: Baby pink, rainbow assortment. Difficulty: Easy
5. Dusty Mauve Negative Space Hearts Paint your nails in dusty mauve, then use heart-shaped stencils or stickers to create negative space hearts that show your natural nail. Trendy and unique. Color Palette: Mauve, nude. Difficulty: Intermediate
6. Pink Marble with Gold Hearts Create a pink and white marble effect using the water marble technique or a makeup sponge, then add tiny gold heart details. Artistic and eye-catching! Color Palette: Various pinks, white, gold. Difficulty: Advanced
7. Barbie Pink Chrome with 3D Hearts Go full glam with bright pink chrome nails topped with raised 3D heart embellishments. This look screams confidence and fun. Color Palette: Hot pink chrome, red 3D hearts. Difficulty: Advanced
FAQs About Pink Valentine’s Nails
Q: Can I do this design with regular polish or do I need gel?

A: Absolutely! Regular nail polish works beautifully for Valentine’s nail designs. The advantage is that it’s more forgiving for beginners, easier to remove, and doesn’t require special equipment. Gel polish lasts longer (10-14 days vs 5-7 days) and is smudge-proof once cured, but it requires a UV/LED lamp and is trickier to remove. Start with regular polish to practice your technique, then upgrade to gel if you want extended wear time.
Q: How do I prevent my pink polish from chipping at the tips?
A: The secret is capping the free edge! With every coat you apply (base coat, color coats, and top coat), swipe the brush across the very tip of your nail. This seals the edge where chips most commonly start. Also, avoid soaking your nails in hot water right after applying polish—wait at least 2 hours. Wearing gloves when washing dishes and reapplying top coat every 2-3 days will also significantly extend your manicure’s life.
Q: What’s the best base coat for weak or thin nails?
A: For weak nails, I recommend OPI Nail Envy or Nailtiques Formula 2. These strengthening base coats contain proteins and conditioners that help harden and protect fragile nails while preventing staining. Apply them as a base before your pink polish, or use them alone as a treatment on nail-polish-free days. With consistent use, you should see improvement in nail strength within 2-3 weeks.
Q: Can I use a regular lamp instead of a UV lamp for gel polish?
A: Unfortunately, no. Gel polish contains photoinitiators that only cure (harden) under specific wavelengths of UV or LED light. A regular lamp won’t work. However, LED lamps are now very affordable—you can get a good quality one for $20-30 on Amazon. LED lamps are better than UV because they cure polish faster (30-60 seconds vs 2-3 minutes) and are considered safer for skin.
Q: How do I create clean, crisp lines for heart outlines?
A: The key is using the right tools and the right amount of polish. Invest in a thin striping brush or nail art brush with fine bristles. Load it with polish, then wipe most of it off on the bottle neck—you want just a small amount on the tip. Brace your hand against a table and rest your painting hand’s pinky against your other hand for stability. Draw slowly and steadily. If you mess up, dip a small brush in remover and clean up immediately. Practice on paper or a nail wheel first!
Q: Is it safe to do my own nails at home, or should I go to a salon?
A: It’s completely safe to do your own nails at home if you use proper techniques! Actually, home manicures can be safer than salons if tools aren’t properly sanitized between clients. The key is using quality products, never forcing or peeling off polish (especially gel), keeping tools clean, and not cutting your cuticles too aggressively. If you have any nail infections, injuries, or conditions like psoriasis, consult a dermatologist before doing nail art.
Q: How can I make my Valentine’s nail design last through the entire month of February?
A: If you want your manicure to last 3-4 weeks, gel polish is your best bet. Apply it properly with thin coats, cap those edges, and seal with a quality gel top coat. Use cuticle oil daily to keep nails flexible (which prevents chipping). Wear gloves for housework. Reapply gel top coat at home once a week if you have a UV lamp. Keep your nails at a moderate length—extra-long nails are more prone to breakage. With these steps, you can rock your Valentine’s nails from February 1st through Valentine’s Day and beyond!