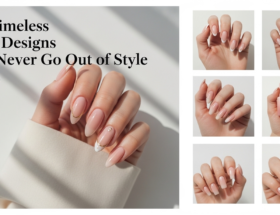
If you’ve ever admired intricate nail art on social media and thought, “That looks amazing, but I could never do that,” you’re not alone. The truth is, nail art doesn’t have to be complicated to be beautiful. In fact, some of the most stylish and modern manicures are built on simple techniques that anyone can learn.
That’s where simple nail art tutorial ideas come in. These designs are perfect for beginners, busy people, and anyone who wants creative nails without spending hours perfecting tiny details. You don’t need expensive tools, advanced skills, or salon appointments — just basic nail polish, a steady hand (or even a slightly shaky one!), and a little creativity.
The secret to mastering simple nail art is focusing on clean shapes, easy patterns, and forgiving designs. Dots, stripes, gradients, and minimal accents can transform plain polish into something eye-catching and trendy.
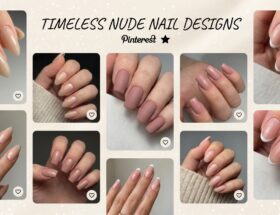
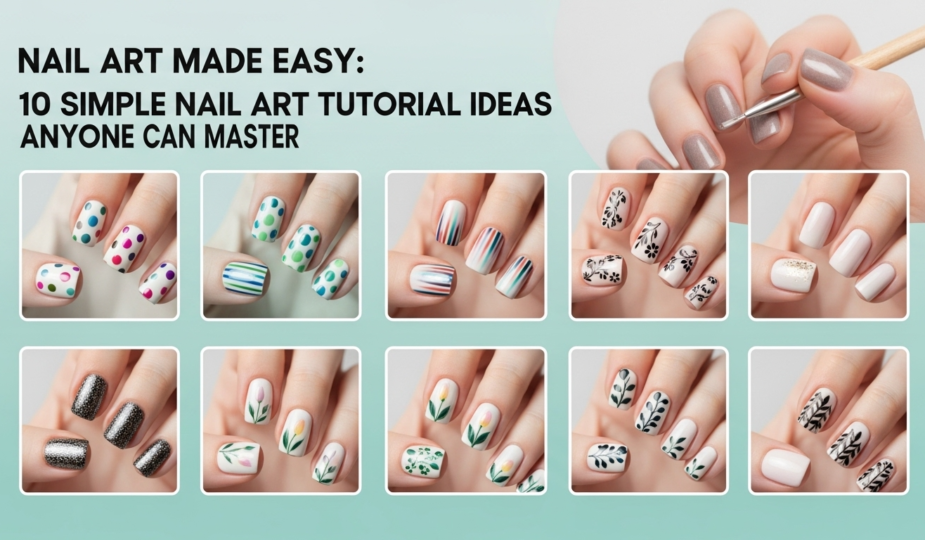
In this guide, we’ll explore 10 simple nail art tutorial ideas, complete with easy explanations and style tips. Whether you’re practicing at home or looking for quick inspiration before an event, these ideas will help you create beautiful nails step by step.
Let’s get started.
1. Classic Polka Dot Nails
Polka dots are one of the easiest and most beginner-friendly nail art designs you can create. They require minimal precision and look adorable in almost any color combination.

How to do it:
Start with a base color and let it dry completely. Dip a toothpick, bobby pin tip, or dotting tool into a contrasting polish and gently press dots onto your nails. You can create evenly spaced rows or scatter them randomly for a playful look.
Why it works:
Polka dots are forgiving — even slightly uneven dots add character. You can go bold with black and white, soft with pastels, or festive with bright shades. It’s simple, quick, and endlessly customizable.
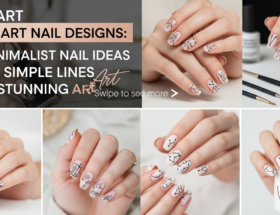
2. Minimalist Line Art Nails
Minimalist nail art is trendy, chic, and surprisingly easy. Clean lines and small shapes create a modern look without complicated techniques.
How to do it:
After applying a neutral or light base, use a thin brush or toothpick to draw simple lines — vertical, diagonal, or abstract squiggles. Keep the design small and intentional.
Why it works:
The beauty of minimalist art is that perfection isn’t required. Slightly imperfect lines still look stylish. This design is ideal for work, school, or everyday wear.
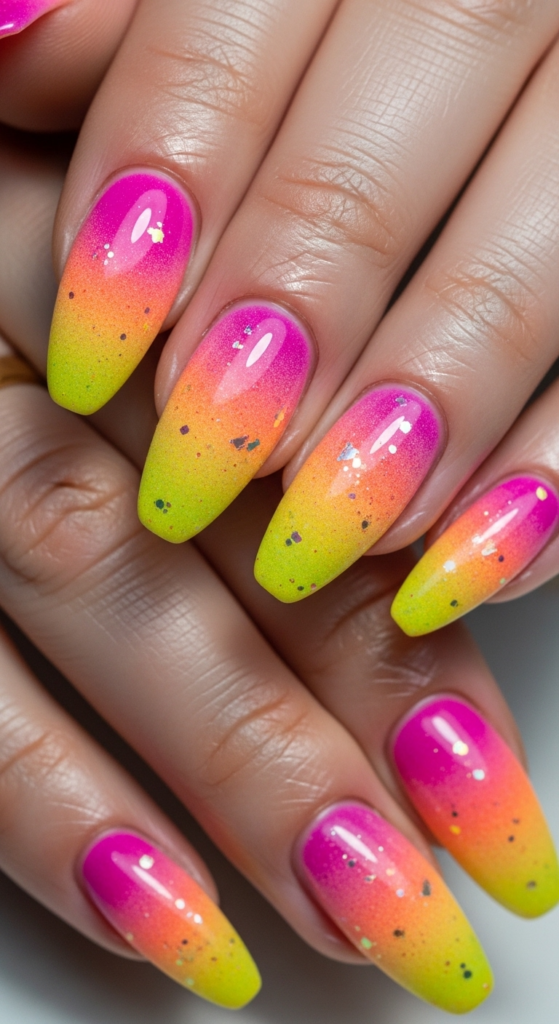
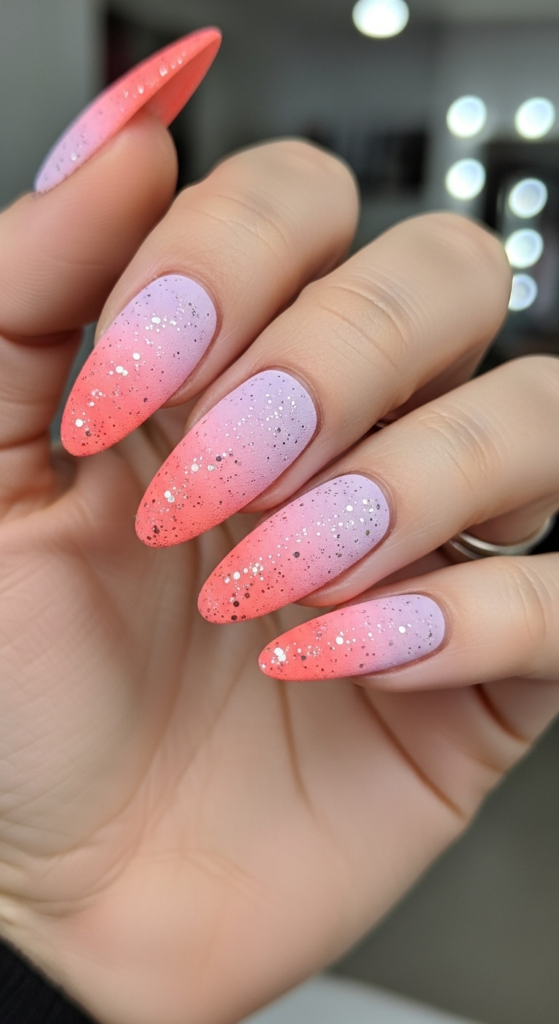
3. Glitter Gradient Nails
If you want something glamorous but easy, glitter gradients are perfect. They look impressive but require minimal blending skill.
How to do it:
Apply a solid base color. Once dry, dab glitter polish onto the tips of your nails using a makeup sponge. Gently blend downward for a fading effect. Finish with a top coat to smooth everything out.
Why it works:
The sponge diffuses the glitter naturally, hiding harsh lines. Glitter also disguises small imperfections, making this design beginner-friendly and party-ready.
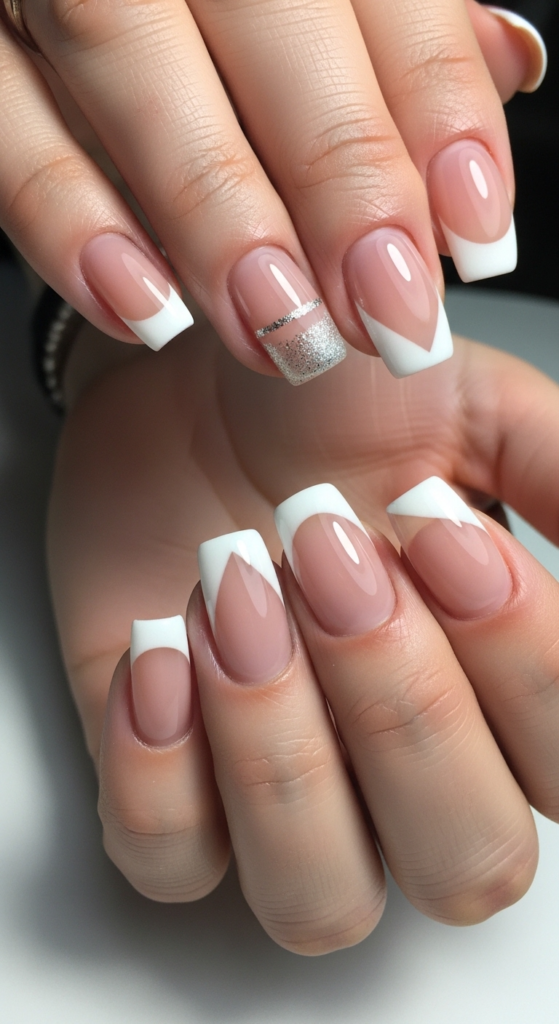
4. Easy French Tip Variation
The French manicure is timeless, but you can simplify it and add a twist.
How to do it:
Paint your nails with a sheer pink or nude base. Once dry, use tape as a guide for your tips. Apply white, glitter, or even a bold color across the exposed tip. Remove tape carefully.
Why it works:
Using tape creates cleaner lines and reduces stress. Colored tips modernize the classic French look and make it feel fresh and trendy.
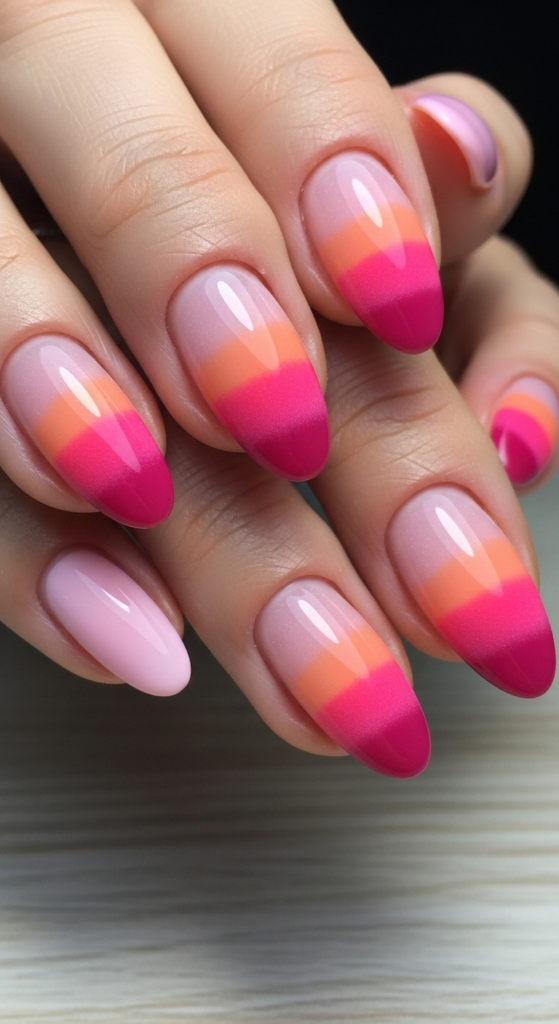
5. Two-Tone Color Block Nails
Color blocking adds bold contrast without detailed art.
How to do it:
After your base coat dries, place tape diagonally or horizontally across your nail. Paint the exposed section with a second color. Carefully remove the tape before the polish fully dries
Why it works:
This creates sharp lines and a modern aesthetic. Choose contrasting colors for drama or soft tones for subtle elegance.
6. Simple Heart Accent Nails
Hearts look cute and romantic, and they’re easier than they seem.
How to do it:
Use a dotting tool or toothpick to place two small dots side by side. Drag a thin line downward from the center to form a heart shape.
Why it works:
It’s simple yet meaningful. Add one heart per nail or keep it on an accent finger for a balanced look.
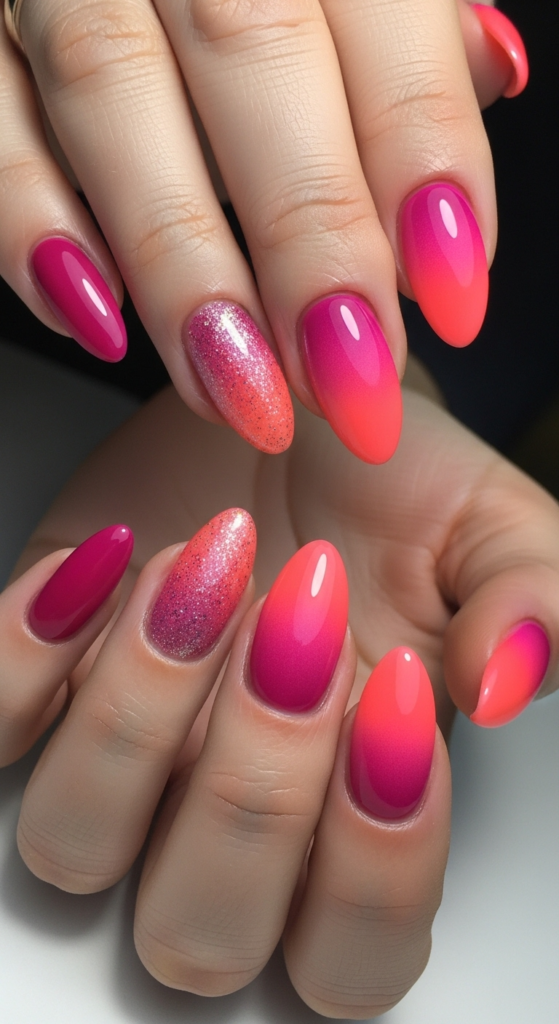
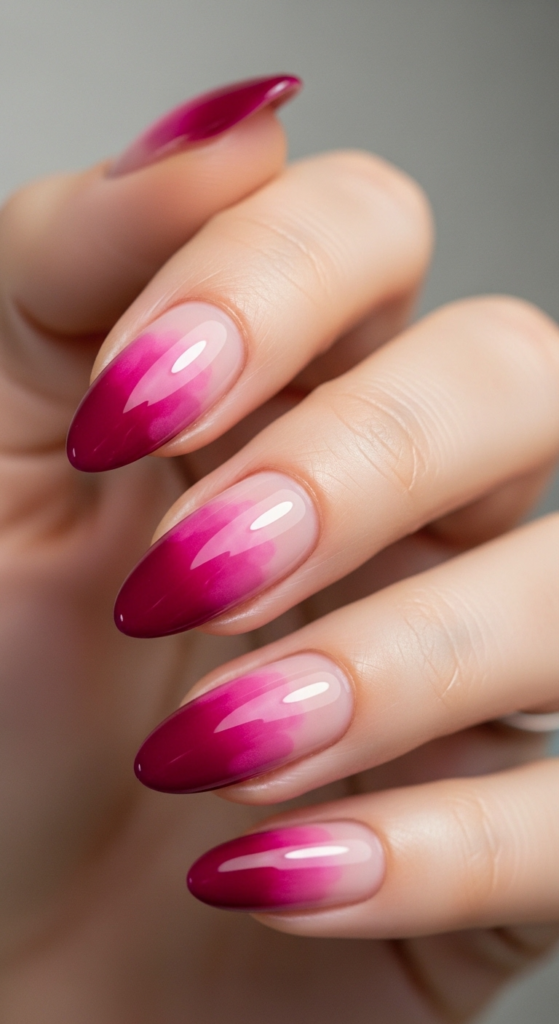
7. Ombre Sponge Nails
Ombre nails may look advanced, but they’re surprisingly simple.
How to do it:
Apply two complementary polish colors side by side on a sponge. Dab the sponge onto your nail until the colors blend softly. Seal with top coat.
Why it works:
The sponge does most of the blending work for you. This design looks trendy and creative without requiring detailed brush control.
8. Accent Glitter Nail
Sometimes less is more.
How to do it:
Paint most nails in one solid color. Choose one finger per hand and apply glitter polish.
Why it works:
The contrast creates interest without overwhelming your manicure. It’s quick, stylish, and perfect for beginners.
9. Matte & Glossy Combo
Texture contrast can elevate even the simplest manicure.
How to do it:
Apply your favorite polish and seal with a matte top coat. Once dry, use a glossy top coat to paint a stripe or tip over the matte base.
Why it works:
The subtle shine contrast creates depth without complex art. It’s modern, elegant, and easy to achieve.
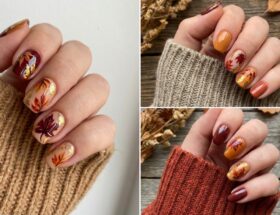
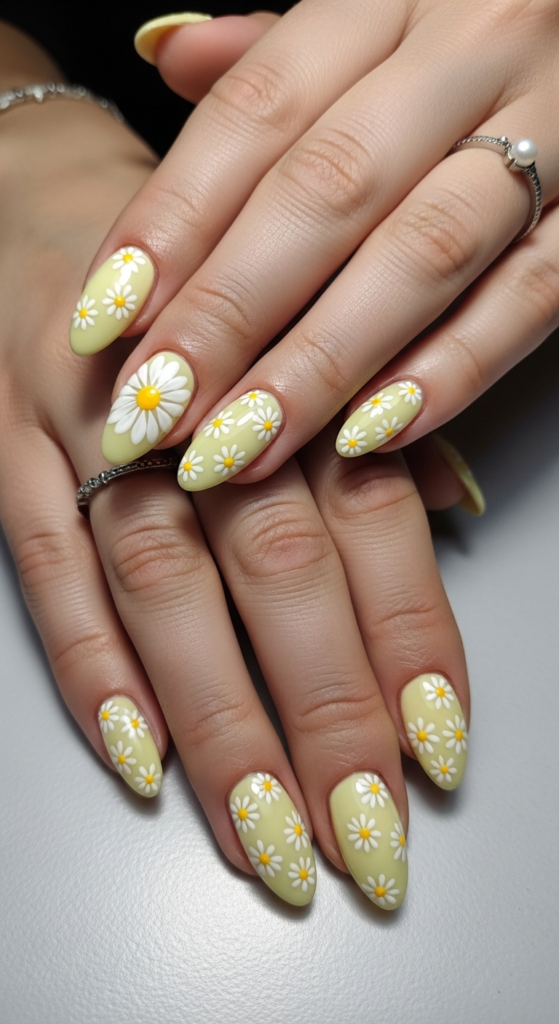
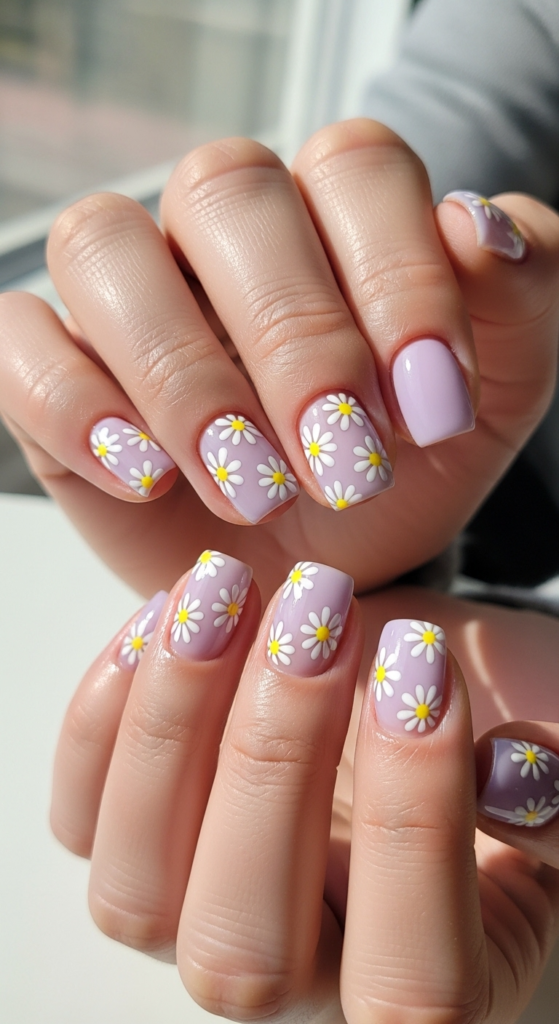
10. Daisy Flower Nails
Tiny daisies are cute and beginner-friendly.
How to do it:
Use a dotting tool to create five small white dots in a circle. Add a yellow dot in the center.
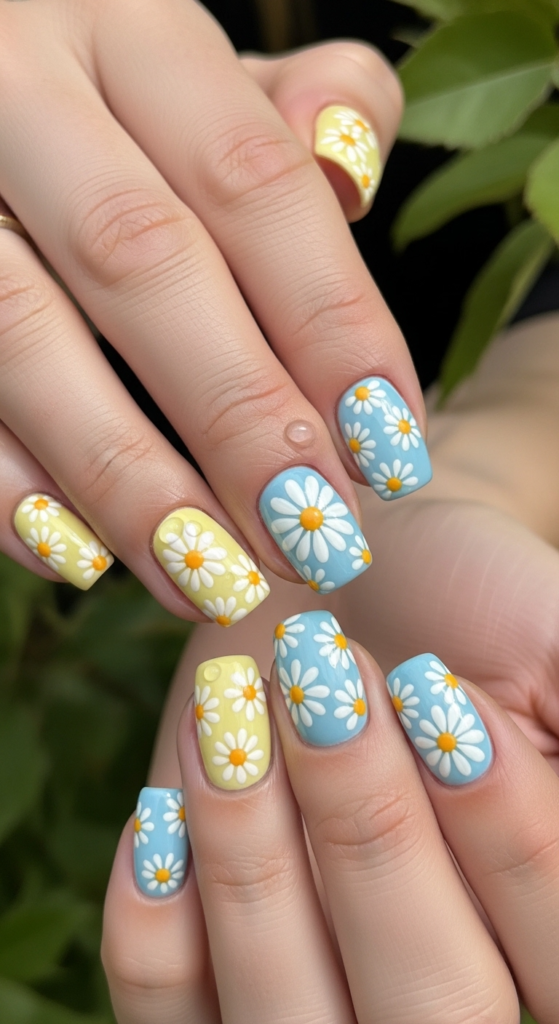
Why it works:
The small size keeps it manageable. Daisies look cheerful and fresh, perfect for spring or summer.