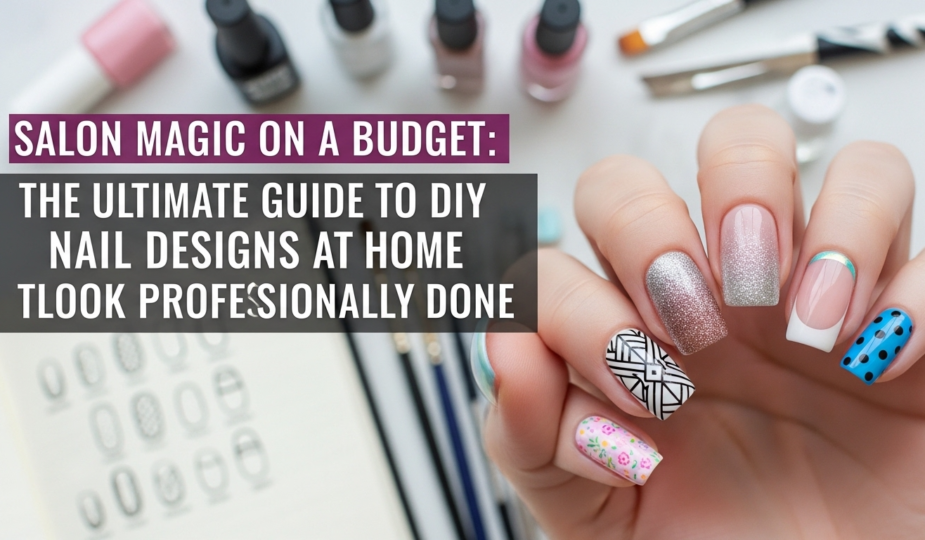
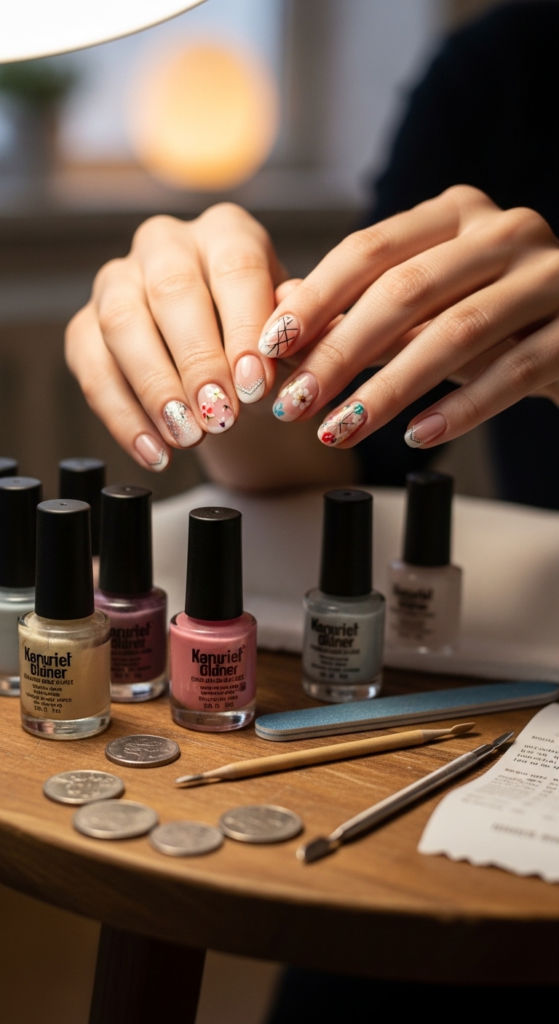
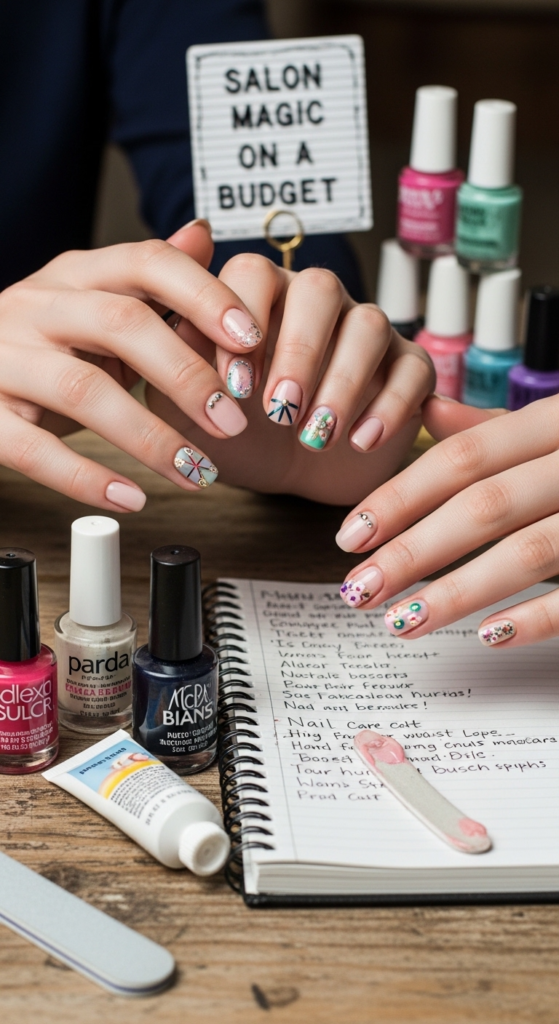
There’s something incredibly empowering about doing your own nails. It’s relaxing, creative, budget-friendly, and surprisingly satisfying. You don’t need a professional nail tech, expensive equipment, or years of experience to create beautiful manicures. With a little patience, basic tools, and the right inspiration, you can master stunning DIY nail designs at home that look just as good as salon work.
Whether you’re saving money, avoiding salon appointments, or simply love the idea of customizing your own look, at-home nail art gives you full creative control. You can experiment with colors, textures, finishes, and patterns without pressure. And the best part? You can redo it anytime you want.
DIY nail art isn’t about perfection — it’s about creativity and confidence. Many beautiful designs actually look better with a handmade touch. From simple polka dots to trendy ombré and minimalist line art, there are endless ways to elevate your manicure without complicated tools.
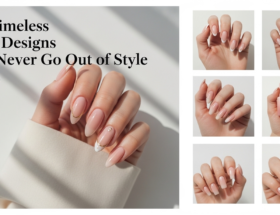
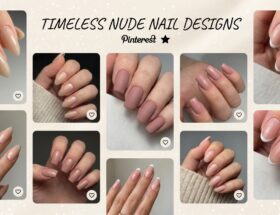
In this ultimate guide, we’ll explore 10 gorgeous DIY nail designs at home, each beginner-friendly and stylish. Whether you’re just starting out or want fresh ideas to upgrade your nail game, these designs will help you create salon-worthy nails right from your couch.
1. Classic Polka Dot Nails
Polka dots are one of the easiest and most beginner-friendly nail designs you can create at home. All you need is a base color, a contrasting polish, and a small tool like a toothpick, bobby pin, or dotting tool.
Start with a fully dried base coat. Dip your tool into the second polish color and gently press small dots onto each nail. You can create symmetrical rows for a neat look or scatter them randomly for a playful vibe. Polka dots are forgiving — even slightly uneven dots add charm.
This design works with any color combination. Try white dots over pastel shades for spring, black dots over nude for a chic look, or neon dots for something bold. It’s simple, cute, and perfect for building your nail art confidence.
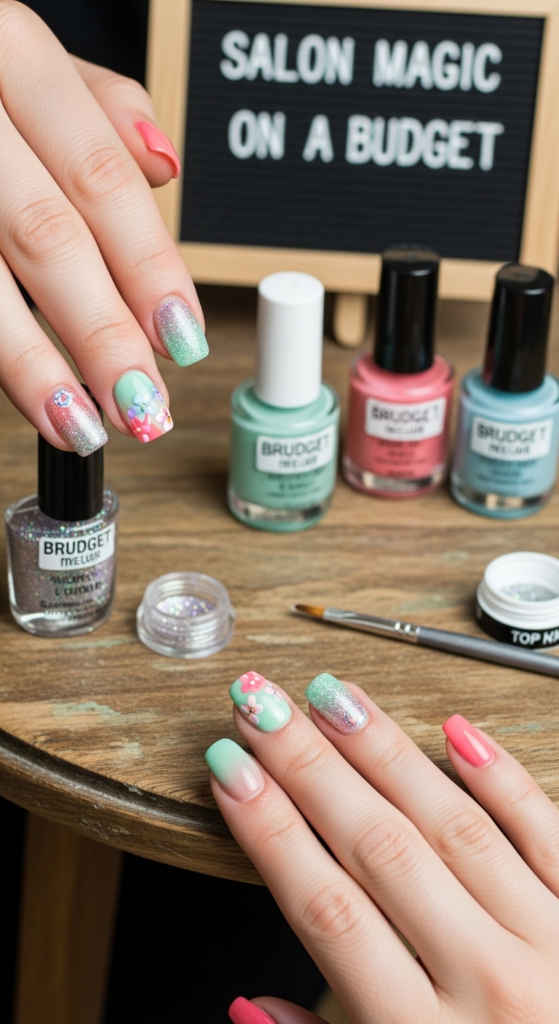
2. Glitter Gradient Nails
If you want something that looks glamorous but is surprisingly easy, glitter gradient nails are perfect. After applying your base color and letting it dry, take a makeup sponge and apply glitter polish to it.
Dab the sponge onto the tips of your nails, gradually fading the glitter downward. The sponge helps create a soft, blended effect instead of harsh glitter lines. Apply a glossy top coat to smooth everything out.
This design is perfect for parties, date nights, or holidays. It looks complex but requires very little skill — making it one of the best DIY nail designs at home for beginners.
3. Tape-Assisted French Tips
The French manicure is timeless and elegant, and you can easily recreate it at home using tape. Once your base color dries completely, place a small strip of tape across your nail where you want the tip to begin.
Paint the exposed tip with white, glitter, or any color you like. Carefully peel off the tape while the polish is still slightly wet for clean edges. This method prevents uneven lines and helps achieve a professional finish.
You can modernize this look by using pastel tips, metallic tips, or even neon colors instead of classic white. It’s simple yet stylish.
4. Easy Ombre Nails
Ombre nails look impressive but are very doable at home. Apply two complementary polish colors side-by-side on a makeup sponge.
Gently press the sponge onto your nail until the colors blend smoothly. Repeat as needed for intensity. Seal everything with a top coat to smooth the gradient.
Pink fading into white, blue into purple, or nude into glitter are popular combinations. Ombre nails allow you to experiment with blending colors in a forgiving way.
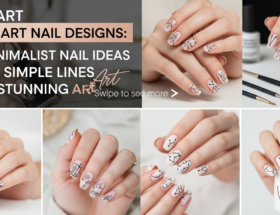
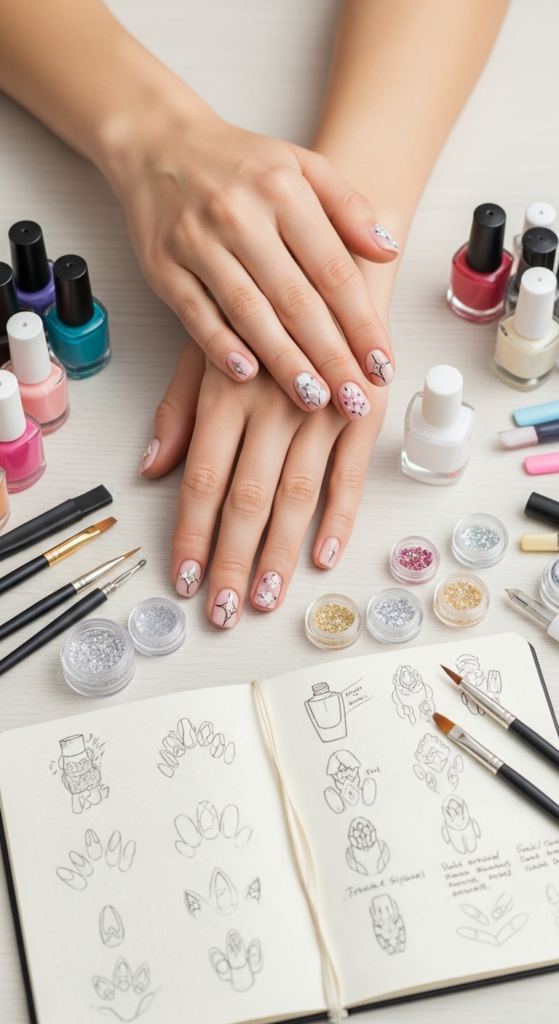
5. Minimalist Line Art
Minimalist nail art is trendy and easy to create. After applying a nude or soft pastel base, use a thin brush or toothpick to draw simple lines or shapes.
Try diagonal lines, tiny squiggles, geometric shapes, or small abstract strokes. The beauty of minimalist designs is that they don’t need to be perfect — slight imperfections actually add character.
This design looks modern and chic without requiring advanced skills.
6. Accent Nail with Foil or Glitter
If you’re not ready to decorate every nail, choose one accent nail per hand. Paint the rest in a solid shade and add glitter polish or nail foil to the accent finger.
Foil flakes can be pressed gently onto tacky polish to create a textured effect. Glitter polish adds instant glam. This method keeps the design simple while still looking stylish.
Accent nails are perfect for beginners who want something eye-catching but manageable.
7. Color Block Nails
Color blocking creates bold, clean designs using tape. After your base coat dries, apply tape diagonally or horizontally across your nail.
Paint the exposed section with a contrasting color and remove the tape carefully. The result is a crisp, modern design that looks professionally done.
You can experiment with multiple color sections or stick to two-tone combinations. Color blocking is a simple yet impactful DIY option.
8. Marble Swirl Nails
Marble nails may look complex, but you can achieve a simplified version at home. Apply a white base coat, then add small drops of gray or black polish while it’s still slightly wet.
Use a toothpick to gently swirl the colors together. Avoid overmixing — light swirls create a realistic marble effect. Finish with a glossy top coat for shine.
This design looks elegant and artistic, making it perfect for special occasions.
9. Tiny Heart Nail Art
Hearts are adorable and easy to create. Place two small dots next to each other, then drag a toothpick downward to form a heart shape.
Add one heart per nail or keep it as an accent. You can use red, pink, white, or any color that matches your mood. This design is sweet, romantic, and beginner-friendly.
10. Matte & Glossy Combo Nails
A matte top coat can instantly transform your manicure. Apply matte finish over your favorite polish for a modern, velvety look.
For extra detail, create glossy stripes or patterns over the matte base. The contrast between textures adds dimension without complicated techniques.
This design is simple but looks sophisticated and trendy.